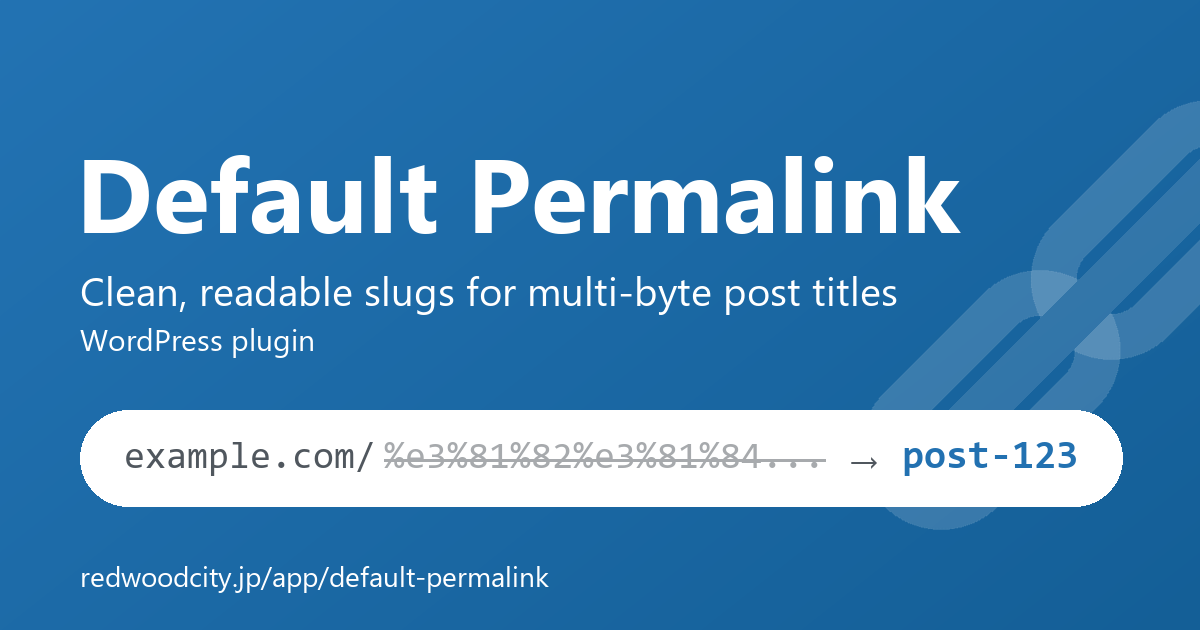
How to install and configure Default Permalink, and how to bulk convert existing slugs.
Installation
- Search for “Default Permalink” under “Plugins” → “Add New Plugin” in the WordPress admin, or upload the
default-permalinkfolder to the/wp-content/plugins/directory. - Activate the plugin through the “Plugins” menu.
Enable and configure
Go to “Settings” → “Default Permalink”, check “Enable” and save changes. Activating the plugin alone does not start replacing slugs.
Settings
| Setting | Description |
|---|---|
| Enable | Turns automatic slug replacement on |
| Slug format | Choose one of three formats for the replaced slug |
| Target post types | Choose which post types are targeted |
| Target taxonomies | Choose taxonomies (categories, tags, etc.) whose slugs are replaced (none by default) |
Slug formats
| Format | Example |
|---|---|
| Post type and ID | post-123 |
| Post date and ID | 20260613-123 |
| Random string (8 alphanumeric characters) | a1b2c3d4 |
Once “Target post types” has been saved, the selection becomes explicit: custom post types registered afterwards are not targeted automatically. Check them on the settings page when needed.
The “post date and ID” format uses the date being saved: the scheduled date for a scheduled post, or the publish date when a draft without a fixed date is published.
Category and tag slugs
Select categories, tags or other taxonomies under “Target taxonomies” and new terms with a multi-byte name get a slug such as category-12 (post-tag-5 for tags). A slug entered in the slug field is kept. Existing terms are not changed, because WordPress does not redirect old term URLs.
How it works
When a post is saved, the slug is replaced with the selected format only if it contains URL-encoded multi-byte characters (like %e3%81%82...) and no slug has been explicitly specified. A slug you enter yourself in the permalink field is respected as-is, even if it is multi-byte. If you clear the slug and save, it is treated as “not specified” and replaced.
Not only posts saved from the editor but also posts created directly via the REST API, WP-CLI or media uploads are replaced. If the new slug is already in use, a suffix such as -2 is added.
After a slug has been replaced, a notice is shown once: right after saving in the block editor, or the next time you open the edit screen in the classic editor. Posts created by WP-CLI, imports or cron, and posts saved with Quick Edit, do not record the notice (the slug is still replaced).
Bulk convert existing slugs
Multi-byte slugs of posts created before installing the plugin can be converted in bulk from the bottom of the settings page.
- Check the number of posts with a multi-byte slug and the posts the next run converts (up to 50, with their current and new slugs) at the bottom of the settings page.
- Click “Convert now” (50 posts are converted per run).
- Repeat until the remaining count reaches zero. Each run continues from where the previous one stopped; posts that cannot be converted are reported and retried after the remaining posts.
Old URLs are redirected (301) to the new permalink by the WordPress core old-slug mechanism, so no links are broken. A scheduled post whose time has passed without being published stays scheduled; only its slug is converted.
Bulk conversion with WP-CLI
On sites with many posts, WP-CLI converts them all at once without the 50-post limit. Use --post_type to narrow the post types and --limit to convert in steps (since 1.10.0).
# Show settings and the number of posts to convert
wp default-permalink status

# Preview without changing anything
wp default-permalink convert --dry-run

# Convert all (no 50-post limit)
wp default-permalink convert

# Convert pages only, 500 posts at a time
wp default-permalink convert --post_type=page --limit=500

# Continue after the ID printed when the previous run stopped
wp default-permalink convert --post_type=page --limit=500 --after=1234
Site Health
A Default Permalink check appears under “Tools” → “Site Health” (WordPress 5.2 or later). If the plugin is active but “Enable” is not checked in its settings, it is shown as a recommended improvement. When enabled, the check passes; if posts with a multi-byte slug remain, it shows their number and a link to the bulk conversion (they are not treated as a problem, because the slug may have been entered on purpose).